Thursday, October 16, 2014

Cream of 'Whatever' Soup

I (as many of you) try to pinch pennies whenever possible, without losing quality.  I also love to use my crock pot...especially on days that I babysit.  Several of my crock pot recipes call of a can of cream soup.  While browsing Pinterest I found a recipe for a dry cream soup mix.  I have actually been planning to try it for awhile...but am just now getting around to it.  What can I say...life happens! The original recipe can be found 'here'.  There is also a second dry soup mix recipe I have pinned that I want to try when this one runs out.  I did make a couple minimal changes to the recipe!

You will need a container (that will seal well) to store your dry mix in.  I chose a large glass jar.  I also used a Sharpie marker to write the recipe and directions on my jar.  (If I need to use the jar for something else a little acetone will wipe that marker right off!)


The recipe is:
1 c. Non-fat dried milk
3/4 c. Cornstarch
1/4 c. Bullion
4 T. Dried Minced Onion
1 t. Basil
1/2 t. Thyme
1/2 t. Parsley
1 t. Pepper

I did learn something very new when making this recipe.  It may be something you all know, but it was new to me and I was excited! It truly is the little things that make me happy!  I did not know that you could buy bullion powder!  I have only ever purchased bullion in cubes.  This stuff is amazing!  I can use just a couple teaspoons when I make rice!  I love it!  If you don't want to purchase this item, you can crush up some cubes.  Although the bullion powder was very reasonably priced!

Also, I didn't have any minced onion, so I used Onion powder and it worked great! If I have something in my cabinet/pantry that will work I don't buy new!


To use the dry mix you add 1/3 c dry mix and 1/2 c water.  Then microwave for 30 seconds (or until it starts to thicken.  Just be careful, if you cook in longer increments it may get too thick, so check it often until you find the right time for your microwave!

Let me know what you think!!


Wednesday, October 1, 2014

Frilly Scarf Tutorial

First of all, I have tried to write this blog several times...every time I sit down to type someone needs me! :)  It is wonderful to be a needed wife and Mom though!!

I'm sure you have seen the 'frilly' scarves that became quite popular last year.  I always wanted to make one, but the price per skein of the yarn was more than I was willing to pay... I can be rather cheap sometimes! :)

Not to long ago I found the yarn on clearance!!!  Yay!  So, I purchased several skeins (with intentions to make one for myself and a few for gifts or to sell).  Then, they sat in my craft closet for several months.  Sadly, I had to take a break from crocheting during the second half of my pregnancy.  My fingers would go numb (from slight swelling in my hands and wrists) if I did to much...since grading papers and typing lesson plans was what I was getting paid to do, I had to put those things ahead of the fun stuff!

Now, I am finally back to crocheting and crafting and I am loving it!!!  I certainly missed it!  I finally sat down to make the 'frilly' scarves and oh my goodness!  They were so much fun to make!  It does not take much time to make them at all! I had all of mine made in two afternoon nap-times! (I now measure thins by nap-times!)

I looked at several tutorials (I am a visual/hands on learner) and I still had a couple questions.  So, after I figured it out I  took a few pictures of my own to share with you!

I used a size 'h'crochet hook.  If you spread the first part of the yarn out, you will notice that the two sides are different. You will want to work in the side that is more open...has holes for you to work in.


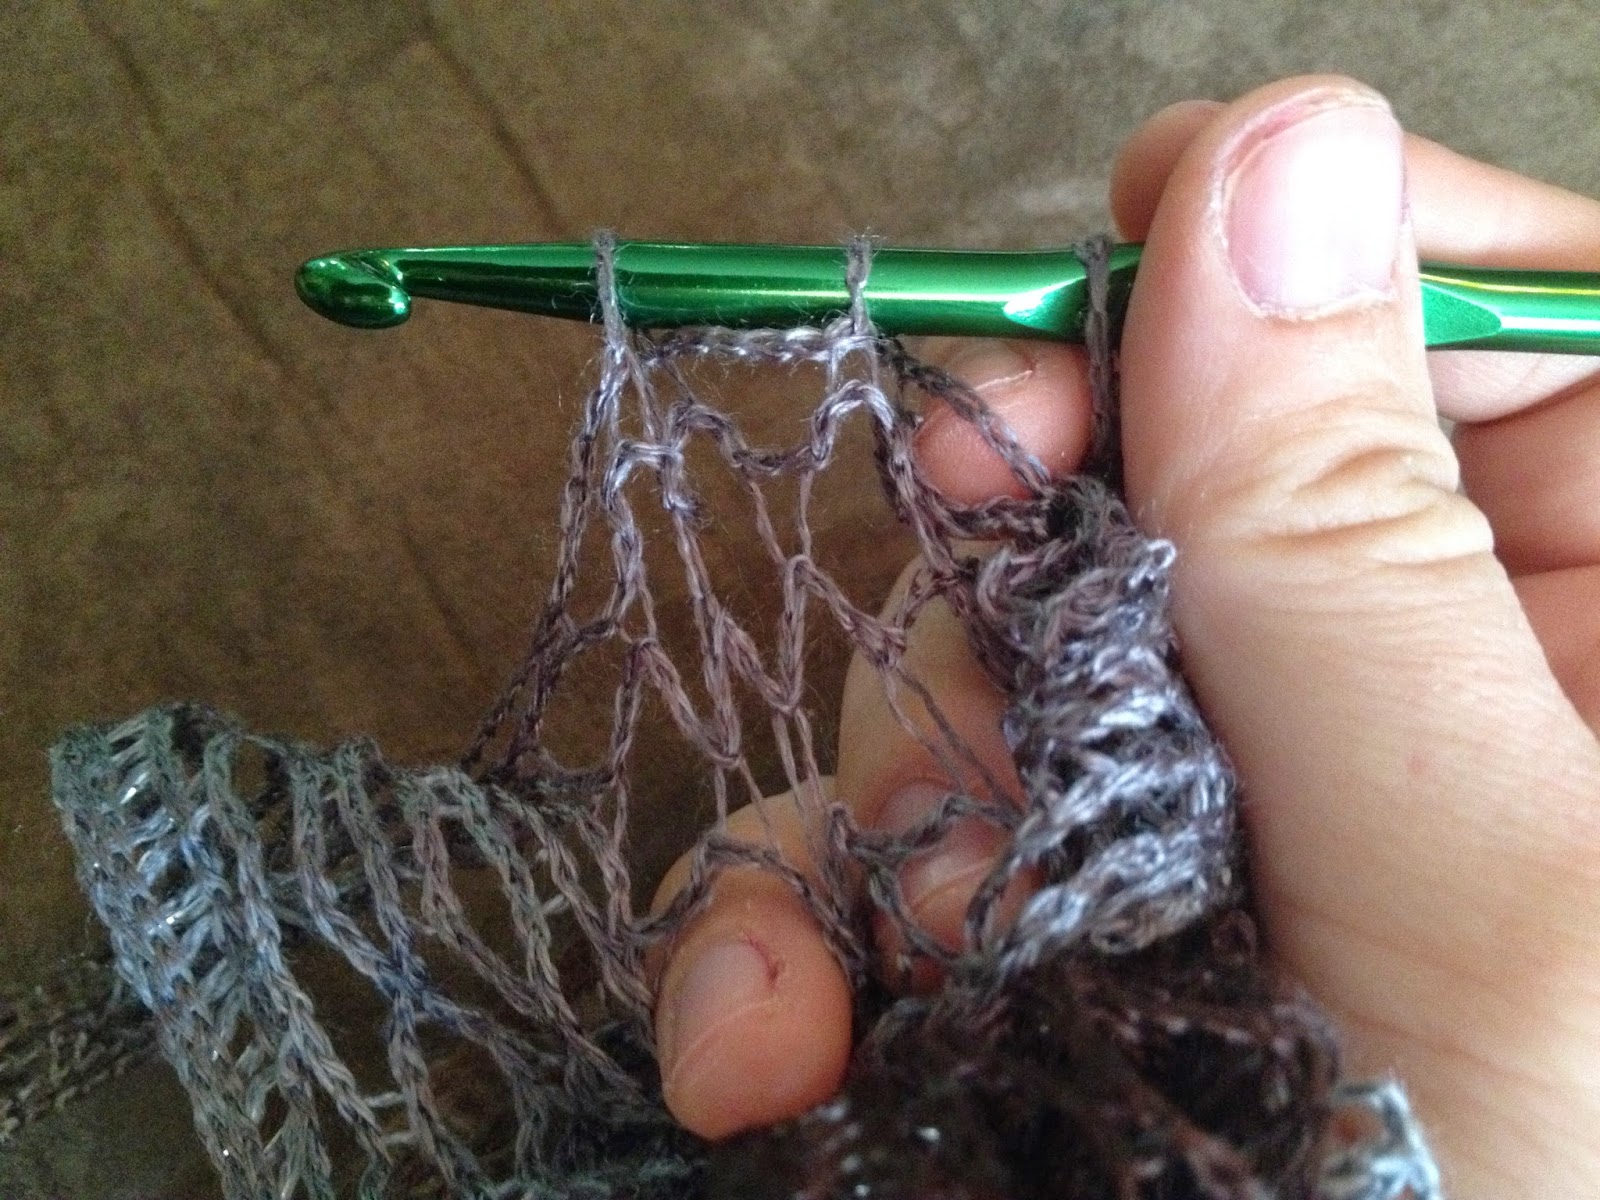
You are going to run your crochet hook through every other hole/space until you have cast on 10.   In the picture below you can see my crochet hook going through every other space.


After you have cast on 10, you will gather all except the one closest to the hook, and pull the single strand through the group.


Stitch markers were suggested in at least one of the tutorials I looked at, but I chose not to use them, and had no problem.  I believe they were suggested so that the whole scarf would not unravel or you would not lose your place if you had a mishap and dropped the stitches you were currently working on.

Now, I do not claim to be a super knowledgeable crafter/crocheter.  So, if something I have said does not make sense, please comment below or message me and I will do my best to help you out!  

Enjoy your new 'frilly' scarf!!!